Installing a heat exchanger correctly is only the beginning.
A heat exchanger can lose performance over time because of fouling, scaling, incorrect flow conditions, gasket problems, corrosion or poor maintenance.
For this reason, operators need to understand three basic procedures:
Heat exchanger installation
Heat exchanger cleaning
Heat exchanger maintenance
This guide explains the practical points to check during each stage, with a focus on plate heat exchangers.
1. Heat Exchanger Installation: What Should Be Checked First?
Before installing a heat exchanger, confirm that the equipment matches the application.
Check:
- Heat duty
- Fluid type
- Flow rate
- Inlet temperature
- Outlet temperature
- Operating pressure
- Design pressure
- Operating temperature
- Connection size
- Connection location
- Installation orientation
- Available maintenance space
Do not install a heat exchanger only because the connections appear to fit.
The selected unit must also meet the required thermal and hydraulic conditions.
The manufacturer’s installation instructions should always take priority over a general installation guide because the allowable operating conditions and assembly requirements vary by design.
2. Leave Enough Space for Maintenance
One of the most common installation mistakes is leaving insufficient service space.
For a gasketed plate heat exchanger, the plate pack may need to be opened for inspection or manual cleaning.
Before installation, consider:
- Plate removal space
- Bolt access
- Crane or lifting access
- Cleaning equipment
- Drainage
- Venting
- Pipe removal
- Gasket replacement
If the exchanger is installed in a location where the plate pack cannot be opened, future maintenance can become unnecessarily expensive.
Maintenance access should therefore be considered during installation, not after the first failure.
3. Check the Piping Before Connecting the Heat Exchanger
The connected piping should not place excessive mechanical loads on the heat exchanger.
Check:
- Pipe alignment
- Pipe supports
- Connection orientation
- Expansion
- Vibration
- Valve location
- Drain points
- Vent points
Do not use the heat exchanger connection as a structural support for heavy piping.
The piping system should be independently supported.
For larger equipment, thermal expansion and vibration should also be considered.
4. Install the Correct Flow Direction
Flow arrangement directly affects heat-transfer performance.
Depending on the application, the heat exchanger may be designed for:
- Counter-current flow
- Parallel flow
- Multi-pass flow
For most liquid-to-liquid heat exchanger applications, counter-current flow is commonly used because it can provide a favorable temperature approach.
Before connecting the piping, confirm the inlet and outlet markings on the equipment.
Do not assume that the connection arrangement is interchangeable.
Incorrect flow direction can reduce thermal performance even when the heat exchanger itself is correctly sized.
5. Install Isolation, Drain and Vent Valves
A practical heat exchanger installation should allow the unit to be isolated and serviced.
Depending on the system, consider:
- Isolation valves
- Drain valves
- Vent valves
- Pressure gauges
- Temperature sensors
- Flow meters
- Differential-pressure measurement
These components make troubleshooting much easier.
For example, if the heat exchanger begins to underperform, operators can compare:
Inlet temperature
Outlet temperature
Flow rate
Pressure drop
before deciding whether cleaning is required.
6. Clean the System Before Commissioning
New piping systems may contain:
- Welding debris
- Metal particles
- Rust
- Sand
- Construction dirt
- Sealant residue
These contaminants can enter the heat exchanger.
A suitable flushing and filtration procedure should therefore be considered before normal operation.
This is particularly important for plate heat exchangers because the flow channels can be relatively narrow.
A clean heat exchanger cannot compensate for a dirty upstream system.
7. Commissioning: Start Slowly
Do not immediately expose the heat exchanger to full operating conditions.
A controlled startup helps reduce the risk of thermal shock and pressure surges.
A practical sequence is:
Check valves
↓
Check connections
↓
Confirm correct flow direction
↓
Open the system gradually
↓
Remove trapped air
↓
Increase flow gradually
↓
Monitor temperature and pressure
↓
Check for leakage
↓
Reach normal operating conditions
The exact startup procedure should follow the manufacturer’s instructions.
Sudden pressure peaks during startup or shutdown can damage a heat exchanger designed for lower transient loads.
8. Check for Leaks After Startup
After commissioning, inspect:
- Connections
- Gaskets
- Plate pack
- Welded areas
- Valves
- Pipe joints
For gasketed plate heat exchangers, leakage may indicate problems such as:
- Damaged gasket
- Incorrect gasket installation
- Uneven compression
- Plate deformation
- Excessive pressure
- Thermal or chemical damage
Do not simply tighten everything when a leak appears.
First determine the cause.
Over-tightening a plate heat exchanger can create additional problems.
9. Heat Exchanger Cleaning: When Is It Necessary?
A heat exchanger does not need to be cleaned simply because it has been operating for a certain number of months.
Cleaning should be based on operating conditions and performance.
Typical warning signs include:
Reduced Heat Transfer
The outlet temperature no longer reaches the expected value.
Increased Pressure Drop
The pressure difference across the exchanger increases.
Reduced Flow
The system cannot maintain the required flow rate.
Higher Energy Consumption
More pumping power is required to maintain operation.
Visible Fouling
Scale, sludge, biological deposits or process residue are found.
Manufacturers recommend monitoring operating temperatures, flow and pressure conditions and using changes in performance to determine when service is required.
10. Common Causes of Heat Exchanger Fouling
Different fluids create different deposits.
Common fouling types include:
- Mineral scale
- Calcium carbonate
- Rust
- Sediment
- Biological growth
- Oil deposits
- Organic residue
- Process chemicals
- Suspended solids
Fouling creates an additional thermal resistance between the fluid and heat-transfer surface.
As fouling increases:
Heat-transfer performance decreases
while
Pressure drop may increase.
This is why regular monitoring is important.
11. How to Know Whether Fouling Is the Problem
Do not immediately open the heat exchanger when performance decreases.
First compare current operating data with the original commissioning data.
Check:
Flow rate
Hot-side inlet temperature
Hot-side outlet temperature
Cold-side inlet temperature
Cold-side outlet temperature
Pressure drop
Pump operating condition
If flow has changed, the problem may not be fouling.
If temperatures have changed, the problem may be upstream.
If pressure drop has increased while operating conditions remain similar, fouling becomes a stronger possibility.
Diagnosis should come before cleaning.
12. Cleaning a Plate Heat Exchanger: Two Main Methods
For gasketed plate heat exchangers, the main cleaning approaches are:
Cleaning in Place — CIP
The exchanger remains closed while a suitable cleaning solution is circulated through the channels.
Manual Cleaning
The heat exchanger is opened and the plates are cleaned individually.
CIP is generally useful when routine fouling can be removed without dismantling the unit.
Manual cleaning provides direct access to the plates and allows inspection at the same time.
Manufacturers commonly describe both methods for gasketed plate heat exchangers.
13. CIP Cleaning: When Is It Useful?
CIP can reduce downtime because the heat exchanger does not necessarily need to be opened.
A typical CIP process involves:
Isolate the exchanger
↓
Drain or prepare the circuit
↓
Connect the CIP system
↓
Circulate the appropriate cleaning solution
↓
Monitor the cleaning process
↓
Flush with clean water
↓
Return the exchanger to service
The cleaning chemical must be compatible with:
- Plate material
- Gasket material
- Deposits
- Operating temperature
- Cleaning concentration
The wrong chemical can damage the heat-transfer surface or gasket.
Alfa Laval specifically recommends cleaning before complete fouling causes process problems and identifies CIP as a method for cleaning gasketed plate heat exchangers without dismantling them.
 14. Do Not Choose a Cleaning Chemical by Guesswork
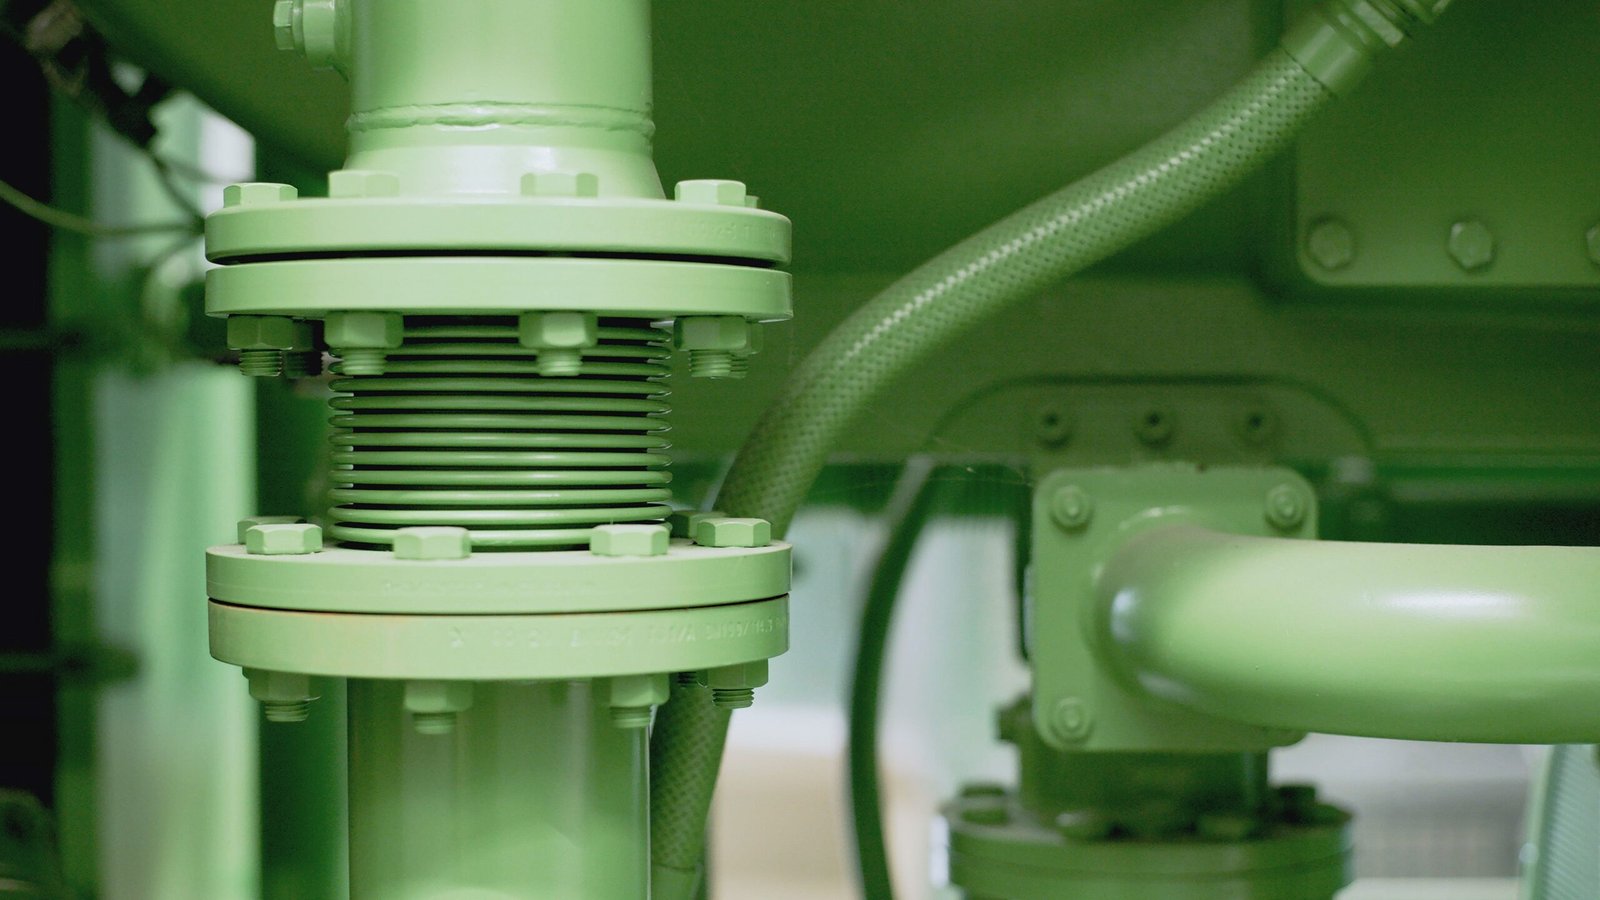 14. Do Not Choose a Cleaning Chemical by Guesswork
Different deposits require different cleaning approaches.
For example:
Mineral scale
may require an appropriate descaling solution.
Oil contamination
may require a different chemical treatment.
Biological deposits
may require another cleaning strategy.
The chemical must also be compatible with the plate and gasket materials.
Do not assume that a strong acid or alkaline cleaner is automatically better.
A cleaning solution that removes scale effectively can still damage the equipment if the chemistry, concentration or temperature is inappropriate.
When uncertain, consult the heat exchanger manufacturer or a qualified cleaning specialist.
15. Manual Cleaning of a Gasketed Plate Heat Exchanger
If CIP cannot remove the deposits, the plate heat exchanger may need to be opened.
Before opening:
Stop the equipment
Isolate both circuits
Depressurize completely
Allow the exchanger to cool
Drain the fluids
Only after the exchanger is safely isolated should internal maintenance begin.
Manufacturer manuals specifically require the unit to be depressurized and cooled before opening.
16. Measure the Plate Pack Before Opening
For gasketed plate heat exchangers, record the original plate-pack compression dimension according to the manufacturer’s instructions.
Also consider:
- Marking the plate-pack position
- Recording plate sequence
- Recording gasket orientation
- Photographing the assembly
This makes reassembly easier.
Plate arrangements can affect the flow channels.
Incorrect plate orientation can change the flow path and affect heat-transfer performance.
17. Remove and Inspect the Plates Carefully
When plates are removed, inspect them for:
- Scale
- Corrosion
- Pitting
- Cracks
- Deformation
- Erosion
- Gasket damage
Plate heat exchanger plates can have sharp edges, so appropriate protective gloves should be used during handling.
Do not bend plates during removal.
A damaged plate may cause leakage or alter the designed flow channel.
18. Use the Right Tools for Manual Cleaning
For manual cleaning, use methods recommended for the specific heat exchanger.
Depending on the manufacturer’s instructions, this may include:
- Clean water
- Soft brush
- Nylon brush
- Approved cleaning solution
Avoid abrasive tools that can damage the heat-transfer surface.
Steel brushes, aggressive scraping and unsuitable chemicals can damage plates or their protective surfaces.
Danfoss, for example, recommends soft-brush cleaning and warns against abrasive methods and incompatible cleaning agents.
19. Be Careful With High-Pressure Water
High-pressure water can be useful, but it must be controlled.
Do not place the nozzle too close to:
- Plates
- Gaskets
- Coatings
- Frame components
Excessive pressure or incorrect technique can damage the equipment.
The exact pressure and distance should follow the manufacturer’s instructions for the specific heat exchanger.
Do not assume that a pressure washer that is safe for industrial equipment in general is automatically safe for heat exchanger plates.
20. Inspect the Gaskets During Cleaning
Cleaning is an ideal time to inspect the gaskets.
Look for:
- Cracks
- Hardening
- Swelling
- Deformation
- Chemical damage
- Loss of elasticity
- Separation from the gasket groove
A gasket that looks acceptable may still have lost its sealing ability.
If the gasket has deteriorated, replace it with the correct material and profile.
The gasket material must match the application.
21. Reassemble the Plate Heat Exchanger Correctly
After cleaning:
Inspect plates
↓
Clean sealing surfaces
↓
Check gaskets
↓
Install plates in the correct sequence
↓
Close the plate pack
↓
Tighten according to manufacturer requirements
↓
Check final compression dimension
↓
Pressure-test if required
↓
Return to service gradually
Correct plate arrangement and gasket positioning are critical to sealing and flow distribution. Manufacturer manuals specify checking plate order, gasket position and sealing surfaces during reassembly.
22. Do Not Over-Tighten the Plate Pack
Tightening bolts are not simply a matter of:
“Tighter is better.”
Excessive compression can damage:
- Plates
- Gaskets
- Frame components
Insufficient compression can result in leakage.
Use the manufacturer’s specified closing dimension or tightening procedure.
Do not rely on visual judgment alone.
23. Pressure-Test After Maintenance
After major maintenance, verify that the heat exchanger is safe to return to operation.
Depending on the equipment and site procedures, this may include:
- Leak testing
- Pressure testing
- Visual inspection
- Connection inspection
The test pressure, medium and procedure must follow the manufacturer’s instructions and applicable site or regulatory requirements.
Do not improvise a pressure test.
24. Heat Exchanger Maintenance: What Should Be Checked Regularly?
A basic maintenance program should monitor:
Temperature
Compare actual inlet and outlet temperatures with expected values.
Flow
Monitor whether the required flow is maintained.
Pressure Drop
Track changes across the heat exchanger.
Leakage
Check connections, gaskets and the frame.
External Condition
Look for corrosion, damage or abnormal conditions.
Bolts and Frame
Inspect the mechanical condition according to the manufacturer’s maintenance instructions.
Gaskets
Check condition when the exchanger is opened.
Regular service guidance from Danfoss includes checking temperatures and flows against commissioning data, inspecting for leakage and checking the general condition of the unit.
25. Keep a Heat Exchanger Performance Record
One of the simplest ways to improve maintenance is to record operating data.
For example:
| Parameter | Commissioning | Current | Change |
|---|---|---|---|
| Hot inlet temperature | |||
| Hot outlet temperature | |||
| Cold inlet temperature | |||
| Cold outlet temperature | |||
| Hot-side flow | |||
| Cold-side flow | |||
| Hot-side pressure drop | |||
| Cold-side pressure drop |
A single measurement tells you little.
A trend over time is much more useful.
If performance gradually deteriorates, maintenance can be scheduled before the exchanger causes a major process problem.
26. Cleaning Frequency Depends on the Application
There is no universal rule saying:
“Clean every six months.”
The correct interval depends on:
- Fluid quality
- Fouling tendency
- Operating temperature
- Flow velocity
- Water treatment
- Process conditions
- Heat exchanger design
- Previous cleaning results
Clean fluids under stable conditions may require less frequent intervention.
Dirty or severe operating conditions may require much more frequent inspection and cleaning.
Manufacturer maintenance schedules similarly distinguish between normal and severe operating conditions.
27. How to Reduce Heat Exchanger Fouling
The best cleaning strategy is to reduce fouling before it becomes severe.
Depending on the system, consider:
Water Treatment
Control scaling and corrosion in water systems.
Filtration
Remove suspended solids before they enter the heat exchanger.
Correct Flow Velocity
Avoid operating conditions that encourage excessive deposition.
Proper Temperature Control
Avoid unnecessary overheating that can accelerate scaling.
Regular Monitoring
Detect changes in pressure drop and heat-transfer performance early.
Planned Cleaning
Clean before deposits become difficult to remove.
Cleaning should be part of a larger operating strategy rather than the only response to fouling.
28. Cleaning a Brazed Plate Heat Exchanger
Brazed plate heat exchangers are different from gasketed plate heat exchangers.
They normally cannot be opened in the same way as a gasketed unit.
Therefore, cleaning is generally performed through the connected piping system using an appropriate CIP procedure.
The cleaning solution must be compatible with:
- Stainless steel plates
- Brazing material
- Process fluid
- Deposits
If performance cannot be restored through appropriate cleaning, replacement may need to be considered.
Do not attempt to mechanically open a brazed plate heat exchanger unless the manufacturer specifically provides a method for that design.
29. Cleaning a Shell and Tube Heat Exchanger
Shell-and-tube heat exchangers require a different maintenance approach.
Depending on the design and fouling condition, cleaning may include:
- Mechanical tube cleaning
- Chemical cleaning
- Tube-side flushing
- Shell-side cleaning
- Tube inspection
- Tube plugging
- Tube replacement
The correct method depends on:
- Tube material
- Tube diameter
- Deposit type
- Shell design
- Access
- Fluid chemistry
A cleaning procedure suitable for a plate heat exchanger should not automatically be applied to a shell-and-tube exchanger.
30. Common Heat Exchanger Maintenance Mistakes
Mistake 1: Cleaning Only When Performance Is Already Very Poor
Heavy fouling may require more downtime and more aggressive cleaning.
Mistake 2: Using the Wrong Chemical
An unsuitable chemical can damage plates or gaskets.
Mistake 3: Using Abrasive Tools
Aggressive mechanical cleaning can damage heat-transfer surfaces.
Mistake 4: Ignoring Pressure Drop
A rising pressure drop may indicate developing fouling or blockage.
Mistake 5: Reassembling Plates Incorrectly
Incorrect plate arrangement can alter flow paths.
Mistake 6: Reusing Damaged Gaskets
A deteriorated gasket can cause leakage after reassembly.
Mistake 7: Ignoring the Manufacturer’s Manual
Different heat exchanger designs have different operating and maintenance limits.
31. A Practical Heat Exchanger Maintenance Workflow
For a gasketed plate heat exchanger:
1. Monitor performance
↓
2. Identify abnormal temperature or pressure-drop changes
↓
3. Confirm operating conditions
↓
4. Determine whether fouling is likely
↓
5. Choose CIP or manual cleaning
↓
6. Isolate and depressurize
↓
7. Clean the exchanger
↓
8. Inspect plates and gaskets
↓
9. Reassemble correctly
↓
10. Test for leakage
↓
11. Restart gradually
↓
12. Record the new operating data
This creates a repeatable maintenance process rather than relying on guesswork.
32. Heat Exchanger Installation, Cleaning and Maintenance Checklist
Installation
☐ Correct heat exchanger selected
☐ Heat duty confirmed
☐ Flow rates confirmed
☐ Pressure and temperature confirmed
☐ Correct flow direction
☐ Piping properly supported
☐ Maintenance space available
☐ Isolation valves installed
☐ Drain and vent provisions available
☐ System flushed before operation
Cleaning
☐ Performance deterioration confirmed
☐ Fouling type identified
☐ Cleaning method selected
☐ Cleaning chemical compatibility confirmed
☐ Both circuits isolated
☐ Pressure released
☐ Equipment cooled
☐ Plates cleaned without damaging surfaces
☐ Gaskets inspected
☐ Heat exchanger correctly reassembled
Maintenance
☐ Temperature monitored
☐ Flow monitored
☐ Pressure drop monitored
☐ Leakage checked
☐ Gaskets inspected
☐ Plates inspected
☐ Frame condition checked
☐ Maintenance records updated
33. When Should You Contact a Heat Exchanger Manufacturer?
Contact the manufacturer when:
- Heat transfer suddenly decreases
- Pressure drop increases significantly
- Leakage continues after normal inspection
- Plates are damaged
- Gaskets repeatedly fail
- Corrosion is suspected
- The fluid has changed
- Operating pressure has changed
- Operating temperature has changed
- The heat exchanger needs to be resized
- You need a replacement
- You need a different material
- You need a larger capacity
- You need an OEM replacement
Do not assume that changing operating conditions is harmless.
A heat exchanger is designed around specific thermal, hydraulic and mechanical conditions. Significant changes should be reviewed before operation.
Heat Exchanger Video Tutorials: Learn the Procedure Before You Start
A good heat exchanger maintenance video should show the actual equipment rather than simply explain the theory.
Useful video tutorials should cover:
Heat exchanger installation
Piping connection
Startup and commissioning
Plate heat exchanger disassembly
Plate cleaning
Gasket inspection
Gasket replacement
Plate inspection
Plate pack assembly
Tightening procedure
Leak testing
CIP cleaning
Heat exchanger maintenance
A complete visual demonstration can make complicated maintenance procedures easier to understand. Heat exchanger manufacturers and service companies commonly organize maintenance training around disassembly, cleaning, inspection, gasket installation, reassembly and testing.
Need Help With Your Heat Exchanger?
If your heat exchanger has:
Low heat-transfer performance
High pressure drop
Scaling
Fouling
Repeated leakage
Damaged plates
Gasket problems
Corrosion
Cleaning difficulties
or if you are planning a new heat exchanger installation or replacement, provide the operating information to the manufacturer before choosing a solution.
Useful information includes:
Heat duty
Fluid
Flow rate
Inlet temperature
Outlet temperature
Operating pressure
Allowable pressure drop
Material
Existing heat exchanger model
Drawing or photos
A manufacturer can then evaluate whether the problem is related to selection, fouling, operating conditions, maintenance or equipment condition.
Install it correctly. Clean it before fouling becomes severe. Monitor its performance. Maintain it according to the manufacturer’s requirements.
That is the simplest way to keep a heat exchanger operating reliably and efficiently over its service life.